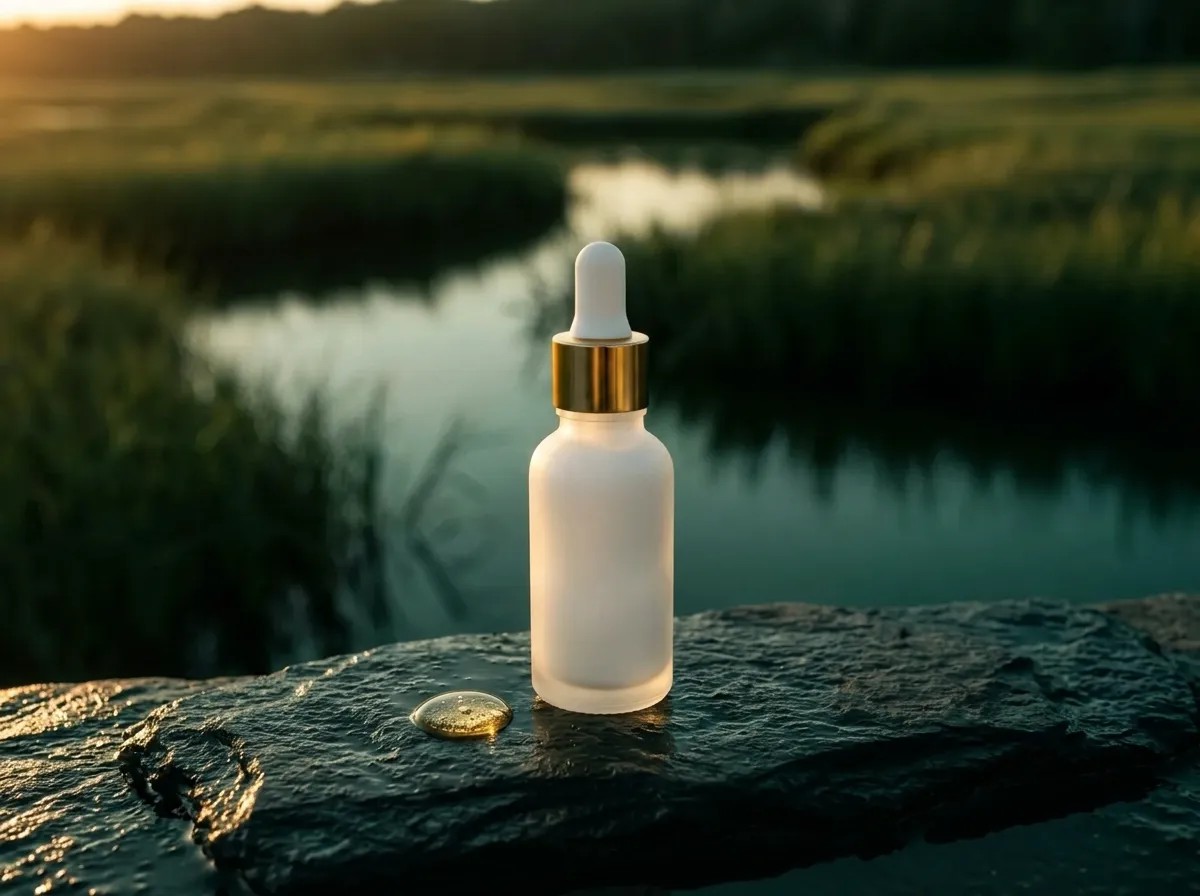
Saltmeadow is a made-up shop for this demo, not a real business.
Tools used and what they cost
| Tool | Used for | Cost in this demo |
|---|---|---|
| Netlify | Hosting for the landing page, plus the email form (Netlify Forms) | Free plan: $0, 300 credits a month. Our 4 production deploys are 60 credits at the listed 15 credits per deploy. Form submissions free and unlimited on credit-based plansChecked Oct 16, 2026 · source |
| Unsplash | Texture and lifestyle photos | Free to use, including commercially, under the Unsplash License. We credit the photographers on the page anywayChecked Oct 16, 2026 · source |
Saltmeadow is a demo shop, not a real business. It sells one product, a 5% niacinamide serum, and nothing on its page is for sale. We built the page to test one idea: when an ad sends a stranger to your shop, the page should answer what that person wants to know before anything else. Then we put it online on Netlify’s free plan and timed every step.
You can open the result at saltmeadow-demo.netlify.app on your phone, which is where most people from an ad will see it.
Why an ad needs its own page
The most repeated question on Shopify Community from new owners is some version of “lots of visitors but no sales.” In threads like High website traffic, but no sales (a one-week-old store getting about 300 sessions a day from Facebook and Instagram ads) and Lots of visitors but no sales, the replies keep returning to the same few gaps: the visitor can’t tell quickly what you sell, shipping and returns are hidden, the store is hard to use on a phone, and nothing shows a real business is behind it.
A page made for one ad can close most of those gaps, because it only has to explain one product to someone who arrived with one question.
Start from the questions shoppers ask
Before writing a word, we looked for data on what people ask about a skincare product before they buy. The clearest source we found is from alby, a company that runs an AI shopping assistant on store product pages. It grouped skincare shoppers’ questions from Q3 2024 (alby’s write-up; it doesn’t give a sample size):
| What shoppers ask about | Share of questions |
|---|---|
| Ingredients and benefits | 22% |
| How long a bottle lasts, shelf life | 21% |
| Using it with other products, under makeup | 18% |
| Whether it suits their skin type | 18% |
| How often and when to use it | 15% |
| How soon they’ll see results | 5% |
Baymard Institute’s health and beauty usability research adds two things from 275+ moderated test sessions: some shoppers left sites that only had a few cut-out product photos, and in one session a shopper decided against a product because she missed the ingredient information.
So the page is built in that order:
- The top says what the product is and who it’s for in one line (“For oily skin that turns red or irritated easily”), then gives the price and size (“$32, 30 ml, about two months”).
- A section called “What people ask before they buy” answers the top five questions from the table, one line each, in the same order.
- A close-up photo shows the texture, since shoppers can’t touch the product.
- How to use it, morning and night.
- The full ingredient list, with the three active ingredients picked out.
- Who makes it, with an email address for questions.
- Other questions, including how soon you’ll see a difference. Our answer is that we don’t promise a timeline.
Your product is different, so your questions will be too. Look at your own DMs and comments, the questions people ask on your product’s reviews elsewhere, and any data like alby’s for your category. Then write the page in that order.
Put the trust details next to the button
The forum replies above repeat the same short list. Put these right under your signup or buy button, where a phone screen will still show them:
- When it ships and from where (“Ships in 1–2 business days from Portland, Oregon” on our demo)
- The return promise, in plain words (“30-day returns, even if you opened it”)
- Shipping cost
We also took two things out. Our first drafts said “Only 200 bottles in the first batch.” Reviewers in those threads call out fake urgency and countdowns as something that makes a new store look like a scam, so we removed it. We also left out a reviews section, because a brand-new shop has no reviews, and an empty “0 reviews” block or invented ones would be worse than none.
Build it as a plain folder
The whole page is four files, 72 KB plus photos served from Unsplash:
index.html, the page, with the email formthanks/index.html, the page people see after signing upimg/hero.webp, the first photo (made with an AI image tool for this demo)netlify.toml, two lines that tell Netlify there’s nothing to build
The form is a normal HTML form with data-netlify="true" added. Netlify finds it when you deploy and saves every submission, so you don’t need a form app. We added a hidden placement field so each signup records which form it came from (top or bottom of the page). You can do the same per ad, so you know which ad sent each person.
Make the template yours without coding
Download the template (6 files, about 70 KB) and unzip it. Open index.html in a plain text editor: TextEdit on a Mac (Format > Make Plain Text first) or Notepad on Windows. Everything you need to change is plain English between the tags:
- the brand name
Saltmeadow(it appears in the title, the top bar, “Who makes it” and the footer) - the headline, the one line under it and the three short facts
- the price and size (
$32,30 ml, about two months) - the shipping and returns lines under the button
- the five quick answers, the how-to steps and the ingredient list
- the contact email, and the photo in
img/
Then delete two things that only belong to our demo: the strip at the very top that says it’s a demo shop, and the footer sentence about Kitmere.
If you’d rather not edit by hand, paste the whole file into an AI chat with something like:
Here is a landing page for a serum. Rewrite all the visible text for my product: [what it is, who it’s for, price, size, where you ship from, return policy, contact email]. Replace the five quick answers with answers to these questions my customers ask: [your questions]. Keep every HTML tag, class and the form exactly as they are. Remove the demo strip at the top and the Kitmere sentence in the footer.
Check the result in your browser (double-click index.html) before you put it online.
Put it on Netlify: what happened, step by step
We used the Netlify command-line tool, because it let us time each step. If you’d rather not use a terminal, Netlify’s Drop quickstart describes the other way: open app.netlify.com/drop and drag the unzipped folder onto the page. Netlify’s help says to unzip first so the files sit inside a folder. We didn’t test Drop ourselves, but two of the steps below apply either way: form detection, and making the project public, since Netlify’s changelog says new projects start private however you create them.
- Log in.
netlify loginopened a Netlify page in the browser with an Authorize button. One click, and the terminal was logged in. - Create the project. One command made
saltmeadow-demo, with the free address saltmeadow-demo.netlify.app. - Turn on form detection before the first deploy. Netlify’s form docs say forms are only picked up from the next deploy after you enable it. We switched it on first, and the form showed up under Forms after one deploy.
- Deploy. Our very first deploy took 28 seconds, but most of that was wasted: the demo folder sits inside our main site’s code, and Netlify’s tool found that bigger project and built it for no reason. Deploying just the folder, with no build step, took 8 seconds for 4 files. If your page is plain files, tell Netlify there’s nothing to build (that’s what our two-line
netlify.tomldoes). - Open the address. Ours showed a Netlify login page instead of the site, because since July 28, 2026, Netlify starts new projects as private for new teams on Free, Personal and Pro. Visitors who aren’t on your team get a login page; our own check got a 401 error. The fix is the Make public button on the project, which appears after the first production deploy, or Project configuration > General > Visitor access > Project visibility. We clicked it and the page loaded for everyone within about 10 seconds. If you skip this step, everyone who clicks your ad sees a login page.
Test the form like a customer
We opened the live page in a browser, typed [email protected] into the top form and pressed Enter. The thank-you page loaded, and the signup appeared in Netlify a moment later with:
- the email address
- our hidden field (
placement: hero) - the visitor’s IP address and browser details
- the page the form was sent from
Because the IP address and browser details are stored, mention form data in your privacy policy.
Get each signup in your inbox and send the code
Netlify Forms collects the emails; it doesn’t send anything to the person who signed up. The simplest way to keep your promise of a code, from Netlify’s form notifications docs:
- Turn on an email notification for form submissions in the project’s settings, sent to your own address.
- Each signup then arrives as an email from Netlify. Our form’s field is named
email, and Netlify’s docs say it uses that field as the reply-to address. - Hit Reply and send the code.
That’s fine for the first few signups a day. Past that, move the list into an email tool so the code goes out on its own. Our abandoned cart and welcome email guide covers the welcome email. We haven’t connected Netlify Forms to an email tool for this demo.
Know which ad brought each signup
The hidden placement field showed up in our test signup, so you can use it to tell your ads apart. Make one copy of the page folder per ad (for example /ig-reel/ and /tiktok/), give each copy’s hidden field its own value, and point each ad at its own address. Every signup then tells you which ad it came from. You don’t need a tracking app to start.
What it cost
Nothing so far. To estimate your own page, use our landing page cost calculator. The Free plan includes 300 credits a month, and Netlify’s pricing page lists a production deploy at 15 credits, bandwidth at 20 credits per GB and web requests at 2 credits per 10,000. Our 4 production deploys come to 60 credits at that rate. Form submissions don’t use credits on these plans, according to Netlify’s forms billing page. Two more things we noticed on the Free plan:
- A small “Powered by Netlify” badge sits in the bottom corner of the page.
- The free address ends in
.netlify.app, because we didn’t connect our own domain.
What we didn’t test
We didn’t run paid ads to this page, so we have no click or signup numbers to share. We didn’t test Netlify Drop, a custom domain or email notifications; those steps come from Netlify’s docs. The one-page-per-ad setup is our suggestion, built on the placement field we did test. The product, prices, address and email on the demo are examples.
One of those is worth doing before real ads go out: your own domain. Reviewers in the Shopify threads above repeatedly flag a store still on a free platform address. Netlify lists custom domains with SSL on the Free plan.
If you build one, send yourself a test signup from your phone before the ad goes live. It takes one minute, and it’s the only way to know the form and the Make public step both worked.